Smartphone security is something a lot of people don’t take seriously enough. Your phone contains a lot of private information that could be used against you in the wrong hands. Enabling any type of lock screen security is often enough to protect you, but many people don’t do it because they think it’s a “hassle.” It doesn’t have to be a hassle at all.
Related: How to find a lost or stolen Android phone
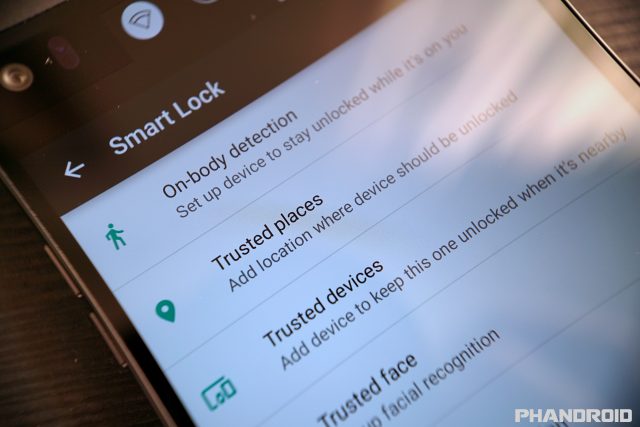
“Smart Lock” is an Android feature that allows you to bypass the hassle of a lock screen when you’re in trusted situations. It was originally a feature on Motorola phones, but it has been a core Android feature since 5.0 Lollipop. With Smart Lock enabled, your phone can automatically disable the lock screen security when certain conditions are met. You really should be using Smart Lock.
Enable Lock Screen Security
Before we can get started with Smart Lock, you will need to have some type of lock screen security for it to work. That could be a fingerprint, pattern, or PIN. The method you choose doesn’t matter as long as you do choose one.The process for enabling lock screen security is slightly different on every phone. Look for “Screen lock” in Settings > Security.
You will most likely have 5 methods to choose from:
- None – No security
- Swipe – No security
- Pattern – Draw a pattern to unlock
- PIN – Enter a 4-digit code to unlock
- Password – Type a password to unlock
Also, if your phone has a fingerprint scanner, you should set that up as well. Using your fingerprint is usually much faster than the methods listed above.
Smart Lock Methods
Smart Lock consists of 5 different methods of detecting when you’re in a trusted situation. You can use as many of these methods as you want. Some are a lot more useful than others.
On-body detection
This method uses the accelerometer built into your phone to detect when it is being carried in your hand, pocket, or bag. Basically, your phone will remain unlocked unless it’s on a table or desk.
Trusted places
This method is one of the most useful. It uses the location of your phone to detect when you’re in a pre-determined “trusted place.” That place can be anywhere you choose on a map.
Trusted devices
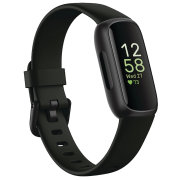
Trusted devices is another very useful method. It unlocks your phone when trusted devices such as a smartwatch or Bluetooth speaker are connected. Especially useful if you wear a smartwatch every day.
Trusted face
This method sounds cool but doesn’t work that well. It uses the front-facing camera to detect your face every time you turn on your phone. It’s often slower than entering a PIN or pattern.
Trusted voice (“Ok Google”)
Trusted voice allows you to use “Ok Google” commands even when your phone is locked behind a secure lock screen. It will only work with your voice.
How to enable Smart Lock
Now that you have a secure lock screen and you know about the Smart Lock methods, there’s nothing left to do but enable it. The location of the Smart Lock settings can vary from device to device. If your Settings app has a search function, that will be the best way to quickly find the settings. They should be under the “Security” settings on most phones.
- Open the Settings
- Go to Security
- Select Smart Lock (enter your PIN/pattern/password)
- Choose one of the Smart Lock methods
- Follow the on-screen instructions
Note: Some of the methods will ask for your PIN/pattern/password the first time you unlock your phone after enabling. After that, Smart Lock will do its thing.
That’s it! Now you won’t have to unlock your phone every single time, but the security will still be there when you need it. Enjoy a safer phone.
More Android 101 Guides


Comments