Do you have multiple Gmail accounts? If you do, you’re probably not alone. Maybe you have one you setup for personal, one for work, one for school, and so on. Maybe you created a new email address that you now want to use as your primary.
If you run a business, you probably should let your customers know about your new email address, but there’s always a chance that new customers or old customers might not get that notification, or maybe they accidentally send an email to your old address out of habit.
To avoid potentially missing out on emails, you can actually turn on automatic forwarding where emails sent to the address are automatically forwarded to your new address. It’s really simple to setup and here’s how.
Automatically forward emails in Gmail
- Log in your Gmail account
- Click on the settings icon and click See all settings

- At the tab at the top, click on Forwarding and POP/IMAP
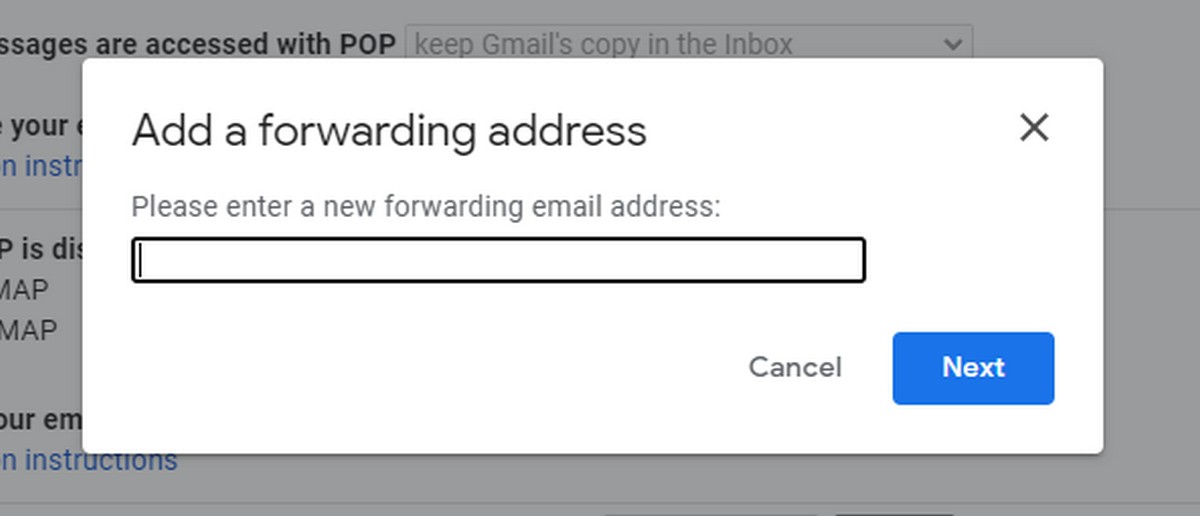
- Next to Forwarding, click the Add a forwarding address button

- Enter the address you want emails to be forwarded to
- A new popup window will appear, click Proceed
- Click OK
- You will now receive an email in the address you specified
- Click the verification link to confirm
- Go back to your original email and refresh the Forwarding and POP/IMAP page

- Make sure “Forward a copy of incoming mail” is selected. You can also choose how forwarded emails are handled, where you can choose to keep a copy, archive the copy, or delete the copy when the email has been successfully forwarded
- Click Save Changes and you’re done
- If you’d like to disable automatic forwarding, simply follow steps 1-3 above and make sure “Disable forwarding” is enabled, then click Save Changes
Related articles
- How to create out of office replies in Gmail
- How to schedule emails in Gmail
- How to make Gmail your default email program
- 15 Tips & tricks to use Gmail like a pro


Comments