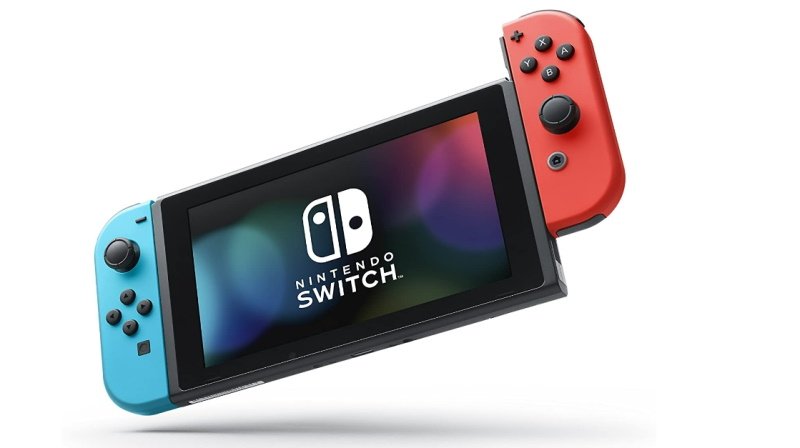
The Nintendo Switch is one of the oldest and most well-known handheld gaming consoles. One unique thing about the Nintendo Switch is that it not only offers a portable gaming experience but it can also be connected to a TV for enjoying games on a bigger screen.
The console is available in three models: Nintendo Switch, Nintendo Switch OLED, and Nintendo Switch Lite. The overall setup process for these models is more or less the same. If you have purchased or planning to buy a Nintendo Switch soon, we are here to help.
This tutorial explains how you can set up your Nintendo Switch.
Unboxing Nintendo Switch
When you unbox the Nintendo Switch, you will get many items including accessories. There will be the console, Joy-Con controllers, dock station, HDMI cable, USB-C charging adapter, and sensor controllers.
Setting Up Nintendo Switch
- Press the power button at the top to power on the Nintendo Switch.
- If it does not have enough power, use the charging adapter to charge the device. The USB-C charging port is at the bottom of the console.
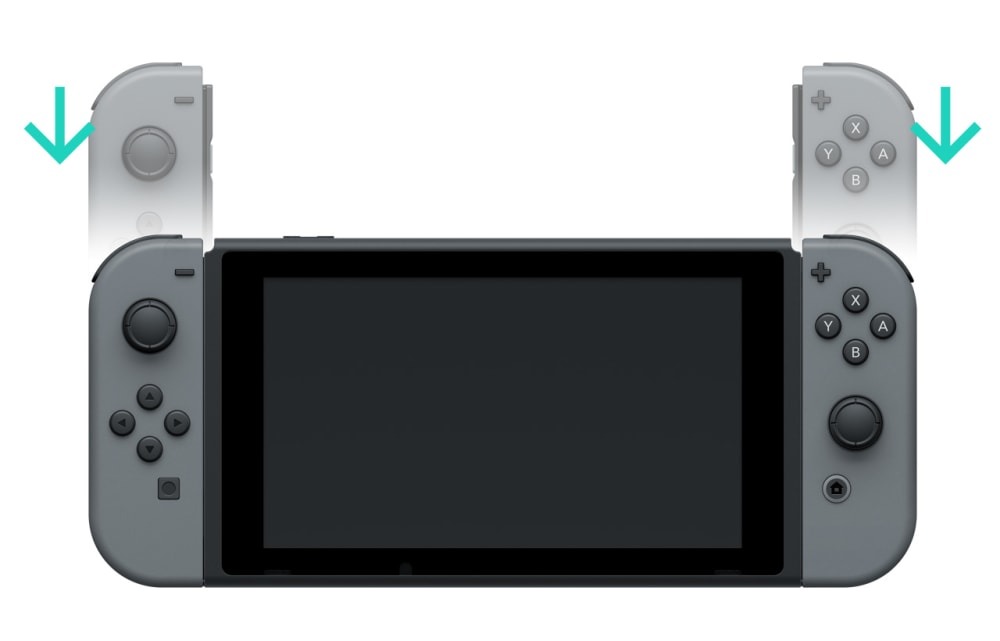
- Attach Joy-Con controllers to the sides of the console by sliding them into the slots. Remember that the controller with the “+” sign goes on the right side and the one with the “-” sign goes on the left.
- Choose your preferred language to proceed. You can use the touchscreen input or controller buttons to navigate and select options.
- Select your region and agree to the end-user agreement.
- Choose a WiFi connection to connect to the internet.
- It will ask whether you want to connect the console to the TV now or later.
- Select Next if you wish to connect to the TV right away. Follow on-screen instructions to complete the connection.
- You can also create a new user profile, link/create a Nintendo account, etc. to finish the setup.
This is how you can set up your Nintendo Switch easily. If you have any questions or doubts, feel free to ask them in the comments section.





Comments